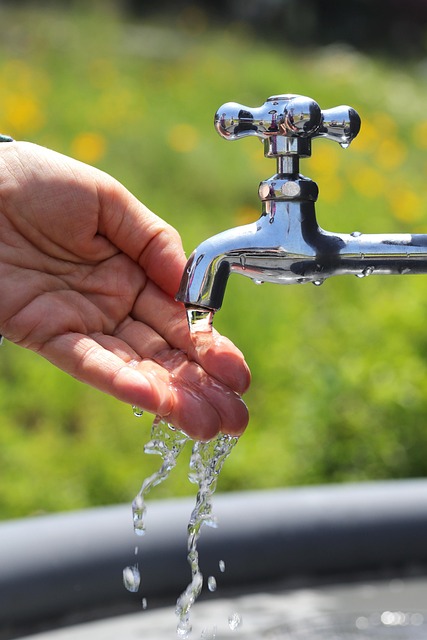
Homeowners should address leaky faucet issues promptly to prevent water wastage and higher bills. Identify the source of the leak, gather essential tools (adjustable wrenches, pliers, screwdriver), and check for damaged washers or O-rings. For minor leaks, DIY repairs are possible; replacing these parts stops leakage. Severe cases may require professional plumbers using specialized tools. Efficiently fixing a leaky faucet saves money, reduces water waste, and prevents further damage. Refer to our guide "How to Fix a Leaky Faucet" for detailed, step-by-step instructions.
Tired of that relentless drip, drip, stop? A leaky faucet isn’t just annoying—it can also waste precious water and drive up your bills. Luckily, fixing a leaky faucet is easier than you think. This guide breaks down the process step-by-step, equipping you with the knowledge to identify the source of the leak and the tools needed for a successful repair. Learn how to stop that drip once and for all with these simple, effective solutions.
- Identifying the Source of the Leak
- Tools and Materials Needed for Repair
- Step-by-Step Guide to Fixing a Leaky Faucet
Identifying the Source of the Leak
Many homeowners overlook the early signs of a leaky faucet, assuming it’s an easy fix. However, ignoring it can lead to unnecessary water wastage and higher utility bills. To efficiently address the issue, start by identifying where the leak is coming from. Check both the hot and cold handles for any visible damage or wear and tear. Sometimes, the culprit is as simple as a loose or damaged washer or O-ring within the faucet mechanism. Other times, it might be more complex, involving issues with the cartridge or valve seat. Inspecting these components can help you understand the severity of the problem and determine if DIY repairs are feasible.
If the leak is evident, such as dripping water between the faucet handle and spout, the solution may be straightforward. Replacing common parts like washers or O-rings is an easy, cost-effective way to stop a minor leak. For more severe cases, you might need to consult a plumber, especially if the issue lies with internal components that require professional tools and expertise for safe disassembly and repair.
Tools and Materials Needed for Repair
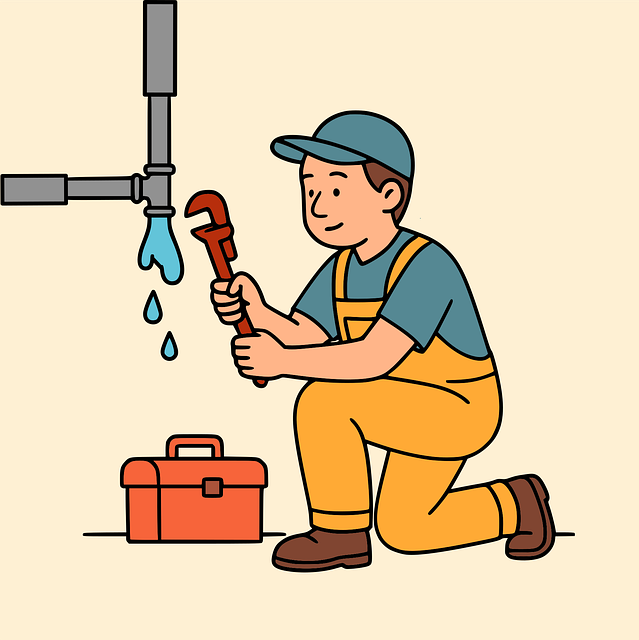
When it comes to fixing a leaky faucet, having the right tools and materials is essential for success. For most standard faucets, you’ll need just a few basic items: adjustable wrenches (for gripping and turning parts), pliers (for tighter grip on stubborn components), a screwdriver (to access screws often hidden beneath handles), Teflon tape or pipe compound (to seal threads), and a new faucet washer or O-ring. These simple tools allow you to tackle the issue effectively, saving time, money, and potentially preventing further damage caused by a prolonged leak.
Step-by-Step Guide to Fixing a Leaky Faucet
Fixing a leaky faucet is an easy, do-it-yourself project that can save you money and reduce water waste. Here’s a step-by-step guide to tackle this common issue. First, gather your tools: a wrench or pliers, some pipe tape or Teflon tape, and replacement washers (if needed). Turn off the water supply to your faucet by locating and closing the shut-off valves under the sink. This prevents water from flowing while you work. Once the water is off, disassemble the faucet by unscrewing the handle and removing any decorative caps or covers. You’ll likely find a packing nut and washer that are the main culprits of leaks. Inspect them for damage or wear and replace if necessary with new parts and pipe tape to create a secure seal. Reassemble the faucet, ensuring all parts are properly aligned, and test the water supply by opening the shut-off valves.
Fixing a leaky faucet is an easy DIY project that can save you money and reduce water waste. By identifying the source of the leak, gathering the right tools and materials, and following a simple step-by-step guide, you can efficiently address the issue. Remember, timely action on minor leaks prevents significant damage and high water bills. With these tips in mind, it’s time to roll up your sleeves and tackle that dripping faucet head-on!