
Leaky faucets are commonly caused by worn washers/O-rings or loose connections, requiring replacement parts and proper installation techniques for fixation. Before attempting any DIY repair, gather essential tools like adjustable wrenches, new O-rings, washers, and plumber's tape. Follow a simple guide to turn off water supply, disassemble the faucet, replace worn parts, reassemble securely, and test for leak cessation.
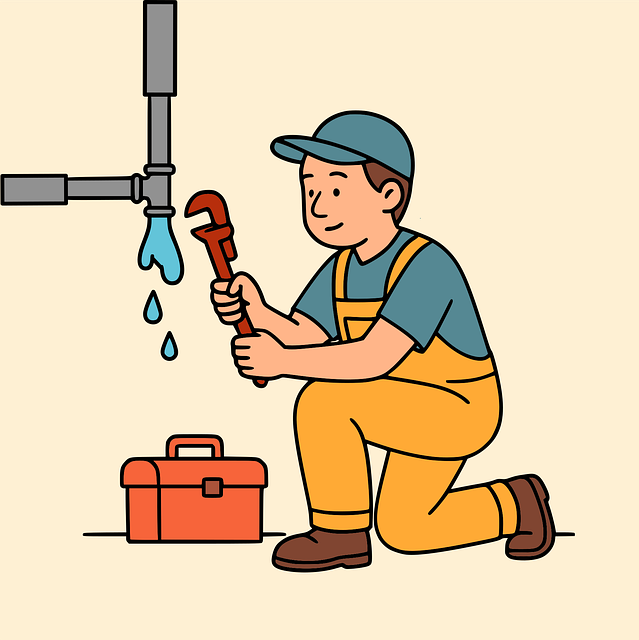
Is your faucet dripping, driving you crazy? Don’t fret! Drip Drip Stop brings you an easy guide on how to fix that leaky faucet. In this article, we’ll first unravel the common causes behind these persistent drips. Then, we’ll equip you with the necessary tools and materials for a successful repair. Finally, follow our step-by-step instructions to bid farewell to those annoying drops, saving you time and money in the process. Learn how to fix a leaky faucet like a pro today!
- Understanding the Causes of Leaky Faucets
- Gather Tools and Materials for Repair
- Step-by-Step Guide to Fixing a Leaky Faucet
Understanding the Causes of Leaky Faucets
Leaky faucets can be a common household issue, but understanding the root causes is the first step in knowing how to fix a leaky faucet. One of the primary reasons for leaks is worn-out or damaged washers and O-rings inside the faucet’s internal mechanism. These components are responsible for sealing off water flow, and over time, they can degenerate due to constant use, mineral buildup, or corrosion, leading to leaks at the base or spout.
Another frequent cause is loose or faulty connections. The supply lines connecting to the faucet might become detached or damaged, resulting in a leaky faucet. Additionally, improper installation or poor-quality fixtures can contribute to leaks. Identifying these issues is crucial when learning how to fix a leaky faucet efficiently and effectively.
Gather Tools and Materials for Repair

Before starting any DIY repair, ensure you have the right tools and materials on hand. For fixing a leaky faucet, basic tools like an adjustable wrench or pliers are essential to grip and twist the pipes firmly. You’ll also need new O-rings or washers, which act as seals to prevent leaks at the faucet’s base. Don’t forget plumber’s tape—a flexible, water-tight sealant that wraps around the threads of your faucet for a secure fit. Having these tools readily available makes the process much smoother and faster when dealing with a leaky faucet, guiding you through the steps on how to fix a leaky faucet efficiently.
Step-by-Step Guide to Fixing a Leaky Faucet
Fixing a leaky faucet is an easy DIY project that can save you money on your water bills and prevent unnecessary wastage. Here’s a step-by-step guide to tackling this common household issue. Start by turning off the water supply under the sink. This crucial first step ensures no water continues to flow while you work, making the process safer and more manageable. Next, gather the necessary tools: a wrench or pliers for removing parts, a new washer or O-ring (commonly called a cartridge in faucet terms), and possibly some thread seal tape or plumber’s grease.
Disassemble the faucet by unscrewing the handle and removing the head. Underneath, you’ll find the valve stem and cartridge. Inspect these components for wear and tear, especially the washer or O-ring, which are common sources of leaks. Replace these parts if necessary, ensuring proper alignment. Reassemble the faucet, tightening all components securely but beware of over-tightening. Finally, turn on the water supply and test the fixture to confirm the leak has been successfully stopped.
Fixing a leaky faucet is an easy, cost-effective DIY project that can save you money and water. By understanding the causes, gathering the right tools, and following simple steps, you can stop those annoying drips and prevent future leaks. With a bit of know-how, you’ll be well-equipped to handle this common home repair and keep your faucet flowing smoothly for years to come.