
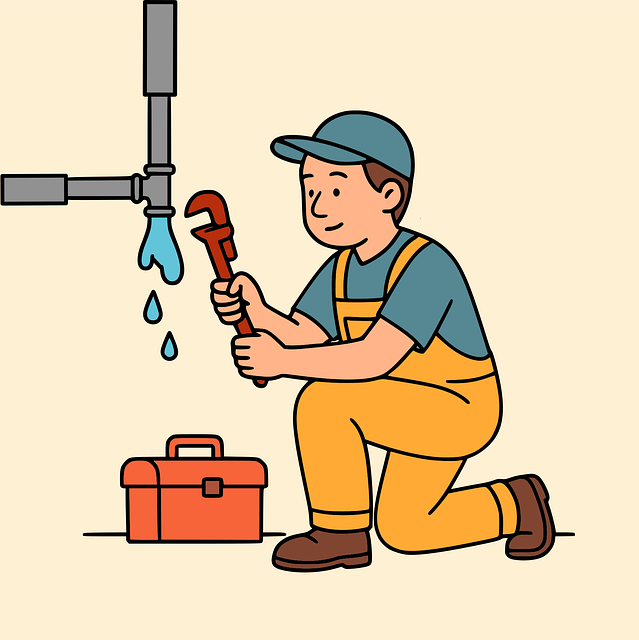
A leaky faucet isn't just an annoyance—it's a potential water waster that could cost you in bills and harm the environment. This guide helps you identify and fix the problem by yourself using simple tools and parts, saving money and conserving water through our easy 5-step process for "How to Fix a Leaky Faucet."
Tired of constant water wastage due to that annoying dripping faucet? Understanding how to fix it is not only cost-effective but also environmentally friendly. This guide will walk you through identifying and repairing a leaking faucet step by step, ensuring you have the right tools and preparation. By following these simple instructions on how to fix a leaky faucet, you’ll soon stop wasting water and save money.
- Understanding the Problem: Identifying a Dripping Faucet
- Tools and Preparation: What You'll Need to Fix the Leak
- Step-by-Step Guide: Repairing a Leaky Faucet Effectively
Understanding the Problem: Identifying a Dripping Faucet
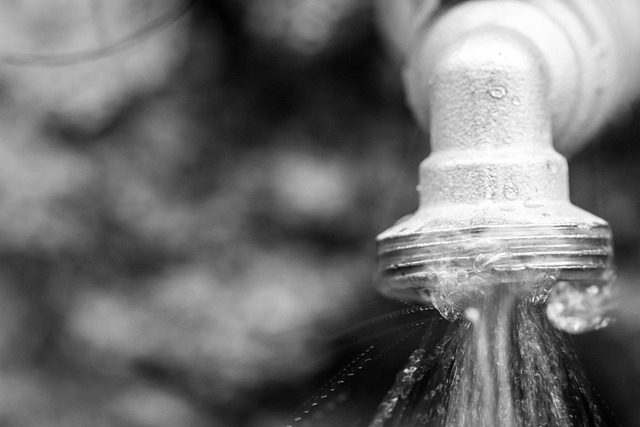
A dripping faucet is often one of the most noticeable and annoying signs of water waste in your home. It’s usually an easy fix, but understanding the problem is key to stopping that persistent drip-drip-drip. While some leaks might be obvious, caused by a visible drop or two each time you turn on the tap, others can be more insidious, slowly wasting hundreds of gallons of water each year without your knowledge.
A leaky faucet typically indicates a problem with one of its internal components – the washer, O-ring, or cartridge. Learning how to fix a leaky faucet is not only an effective way to stop unnecessary water waste but can also save you money on your water bill.
Tools and Preparation: What You'll Need to Fix the Leak
Before you begin fixing your leaky faucet, gather the necessary tools and supplies to ensure a smooth repair process. You’ll need a few basic items: an adjustable wrench or pliers for gripping and turning parts, a new washer (often made of rubber or plastic) that matches your faucet’s size, and some pipe sealant or caulk designed for plumbing use. It’s also helpful to have a bucket and rags nearby to catch any drips or overflow during the process.
Proper preparation is key; turn off the water supply valves located under the sink to prevent any unexpected water flow while you work. This will give you time to safely access and replace the faulty parts without any accidents. With the right tools and a simple step-by-step guide, fixing a leaky faucet is an achievable DIY project that can save you money and reduce water wastage.
Step-by-Step Guide: Repairing a Leaky Faucet Effectively
Fixing a leaky faucet is an easy DIY project that can save you money and help conserve water. Here’s a step-by-step guide to effectively repairing a leaky faucet.
1. Turn Off the Water Supply: Before beginning, close the valve under the sink to stop the water flow. Locate the small shut-off valves (often labeled hot and cold) and twist them clockwise until they’re fully closed. This prevents any water from escaping while you work.
2. Gather Your Tools and Parts: You’ll need a few basic tools like pliers, a wrench, and possibly a new washer or O-ring (check the parts diagram on your faucet). Gather these before starting to ensure a smooth repair process.
3. Remove the Faucet Handle and Aerator: Use the pliers to carefully remove the faucet handle. Then, unscrew the aerator from the tip of the faucet. This often involves twisting it counterclockwise with the wrench.
4. Identify and Replace Worn Parts: Inspect the inner components, particularly the washer or O-ring, for damage or wear. If these are worn, replace them with new ones that fit your faucet model. Make sure to have the correct parts before proceeding.
5. Reassemble and Test: Once the new parts are in place, reassemble the faucet handle and aerator. Open the shut-off valves again and turn on the water supply. Check for leaks at every connection point. If there are no leaks, your faucet is now repaired.
Dripping faucets aren’t just an annoyance; they’re also a waste of precious water. By learning how to fix a leaky faucet, you can save money on your water bills and contribute to conservation efforts. With the right tools and a few simple steps, you can effectively stop water waste and ensure your faucets function efficiently. Remember, every drop counts!