
Identifying and fixing a leaky faucet is easy with the right tools and understanding of its three main components (handle, cartridge, spout). Gather essential tools like wrenches and thread seal tape. Shut off the water supply at shutoff valves beneath the sink. Remove the handle, replace or clean O-rings/gaskets, reassemble, and test for leaks by opening shutoff valves. This 5-step process saves money on water bills and is a simple DIY task.
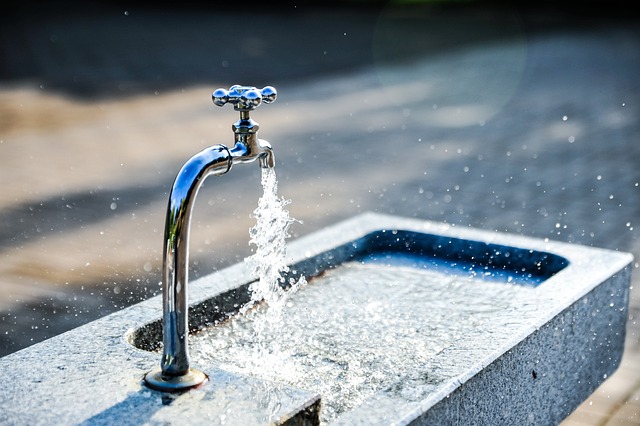
Tired of that persistent drip-drip-drip? Don’t worry, fixing a leaky faucet is easier than you think. In just minutes, you can stop the water waste and save money on your bills. This guide walks you through the process step-by-step, from identifying the source of the leak to gathering the essential tools. By the end, you’ll be equipped with the knowledge to tackle any leaky faucet head-on. Learn how to fix a leaky faucet today and enjoy a leak-free kitchen or bathroom tomorrow.
- Identifying the Source of the Drip: Understanding Your Faucet's Components
- Gathering Essential Tools and Supplies for Leaky Faucet Repair
- Step-by-Step Guide to Fixing a Dripping Tap in 5 Easy Steps
Identifying the Source of the Drip: Understanding Your Faucet's Components
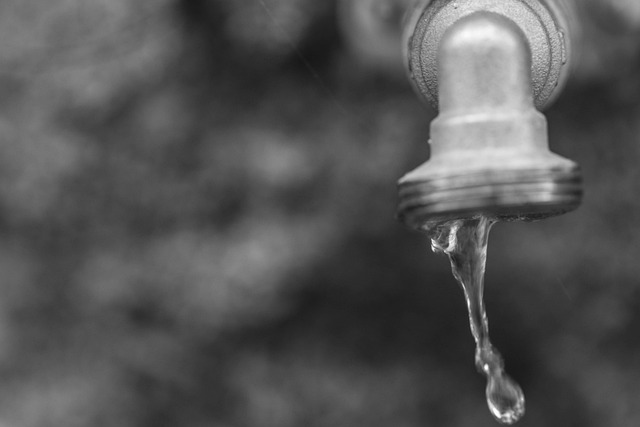
Identifying the source of the drip is the first step in fixing a leaky faucet. Most faucets have three main components: the handle, the cartridge, and the spout. The handle controls the flow of water and the temperature by manipulating the cartridge. The cartridge itself houses valves that regulate the water pressure and direction. If your faucet is dripping, it could be due to a worn-out O-ring or washer within the cartridge or a damaged spout.
Understanding these components will help you determine which part needs replacement when fixing a leaky faucet. By knowing exactly where the leak originates, you can efficiently address the issue and prevent further water wastage. For example, if the drip is coming from under the handle, it’s likely an O-ring or washer replacement that’s needed.
Gathering Essential Tools and Supplies for Leaky Faucet Repair
Before you begin DIY faucet repair, make sure you have all the essential tools and supplies on hand. Gathering the right items will save you time and frustration. Start with basic tools like a wrench or pliers for unscrewing parts, as well as some thread seal tape (also known as plumber’s tape) to ensure a secure connection. For more complex faucets, you might need a screwdriver or even a specialized faucet repair kit, which includes all the necessary components. Remember, having these readily available will allow you to efficiently address that dripping tap and get back to your daily routine in no time.
When it comes to supplies, consider purchasing high-quality replacement parts specific to your faucet model if needed. A little investment here can prevent future leaks and ensure a proper fit. Additionally, stock up on plumbing compounds or sealants designed for faucet repairs, as these will help create a lasting fix. With the right tools and materials, you’ll be well-equipped to tackle that leaky faucet and master the art of DIY repairs in no time.
Step-by-Step Guide to Fixing a Dripping Tap in 5 Easy Steps

Fixing a dripping tap is an easy, do-it-yourself project that can save you money and reduce water waste. Here’s a step-by-step guide to help you tackle this common household issue in just minutes. First, gather your tools: a wrench or pliers for gripping the faucet handle and removing parts, and some rubber grommets or O-rings (often included with your faucet) as replacements. Then, turn off the water supply by locating and closing the shutoff valves beneath the sink. It’s crucial to do this before disassembling any parts to prevent leaks during repair. Once the water is cut off, you can begin the fixing process.
1. Remove the Faucet Handle: Loosen and detach the faucet handle with your tool of choice. This will expose the underlying mechanism.
2. Identify and Remove the Leaking Part: Locate the O-ring or gasket that seals the spout to the faucet body. It’s often the source of leaks. Use your tool to carefully remove it, taking note of its orientation for easy reinstallation later.
3. Clean the Parts: Wash all removed parts with mild soap and water to eliminate any buildup or debris that may have contributed to the leak.
4. Install New O-Ring/Gasket: Replace the old O-ring or gasket with a new one, ensuring it fits securely in place.
5. Reassemble and Test: Put the faucet handle back on, tightening it gently but firmly. Open the shutoff valves and check for leaks. If water drips, tighten the O-ring further or ensure all parts are properly seated.
Fixing a dripping faucet is an easy, cost-effective way to avoid wasteful water leaks and enhance your home’s value. By understanding your faucet’s components and following a simple step-by-step guide, you can efficiently tackle this common issue. With the right tools and supplies on hand, you’ll have a leaky faucet repaired in minutes, saving you time, money, and potentially hundreds of gallons of water each year.