This section offers a comprehensive guide on fixing leaky faucets, focusing on identifying and replacing worn-out O-rings or washers—common causes of base leaks. It provides a step-by-step process, from shutting off water supply to disassembly, inspection, and reassembly, ensuring homeowners can efficiently tackle the issue. Regular maintenance is emphasized through inspections, cleaning, and sealing connections to prevent leaks, saving costs on potential water damage. Learn how to fix a leaky faucet with these simple yet effective steps.
Is your faucet leaking at the base? It’s a common issue, often caused by worn-out O-rings or cartridge problems. Don’t worry—it’s an easy fix! In this guide, we’ll walk you through the process step-by-step. We’ll also share preventive measures and maintenance tips to help you avoid future leaks. Learn how to identify the problem, gather the right tools, and efficiently repair your faucet, saving time and money on a simple yet effective solution with these expert tips on How to Fix a Leaky Faucet.
- Understanding the Common Cause of Leaks at the Faucet Base
- Step-by-Step Guide to Fixing a Leaky Faucet
- Preventive Measures and Maintenance Tips for Future Leaks
Understanding the Common Cause of Leaks at the Faucet Base
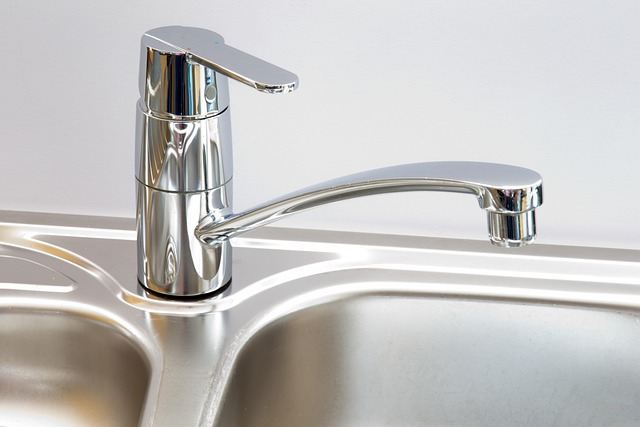
Leaks at the base of your faucet are often a sign of worn-out or damaged O-rings or washers, which are crucial components in maintaining water tightness. Over time, these parts can degrade due to mineral buildup, corrosion, or simply age, leading to unwanted water leakage. Identifying the source of the leak is the first step towards fixing it.
When addressing a leaky faucet, homeowners should consider the type of faucet and its construction. Common types include compression, cartridge, and ceramic disk faucets, each with distinct parts that can fail. For instance, compression faucets rely on O-rings, which can wear out or become displaced, while cartridge faucets may have a damaged or misaligned washer inside the cartridge assembly. Understanding these mechanisms is key to effectively fixing the issue and preventing future leaks.
Step-by-Step Guide to Fixing a Leaky Faucet
Step-by-Step Guide to Fixing a Leaky Faucet
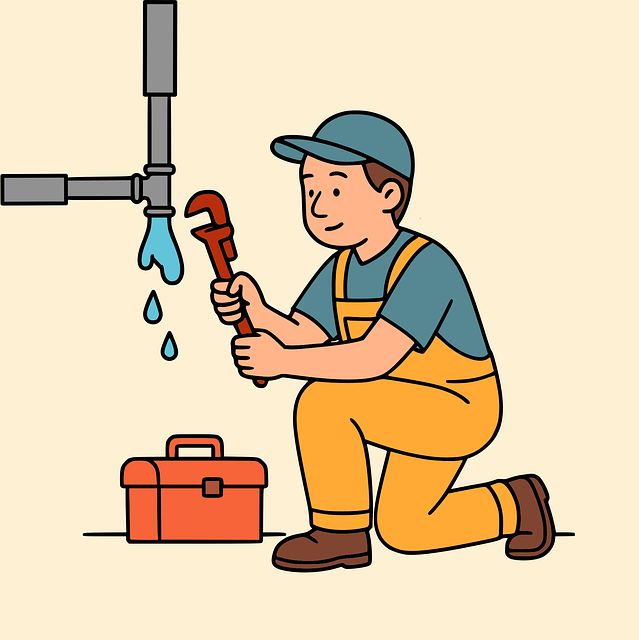
1. Turn Off the Water Supply: Before starting any repairs, shut off the water supply to your faucet. Locate the shutoff valves beneath the sink and twist them clockwise until they stop. This action will prevent any further water leakage while you work.
2. Gather Necessary Tools: You’ll need a few basic tools for this task: adjustable wrench, pliers, new O-ring or washer (depending on your faucet’s design), and pencil. These tools will help you disassemble and replace the faulty parts causing the leak.
3. Disassemble the Faucet: Remove the handle and any decorative caps or covers from the faucet base. Using your tools, carefully take apart the faucet stem and the O-ring or washer that sits at the bottom. Be mindful of where each part goes to ensure an easy reassembly later.
4. Inspect and Replace Parts: Examine the removed parts for signs of damage or wear. If the O-ring or washer is cracked, torn, or worn down, it’s time for a replacement. Install your new O-ring or washer, ensuring it fits securely. Double-check all connections to prevent any leaks at these points.
5. Reassemble and Test: Put the faucet back together, tightening each part gently but firmly. Reconnect the water supply and turn on the valves. Observe the faucet for any signs of leakage. If there are no leaks, you’ve successfully fixed your leaky faucet!
Preventive Measures and Maintenance Tips for Future Leaks

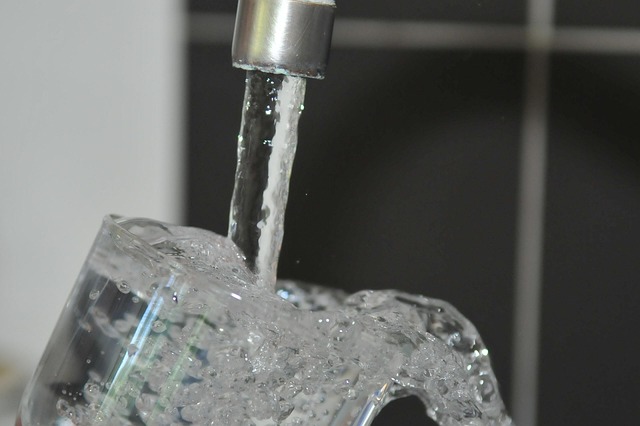
Regular maintenance and preventive measures can go a long way in ensuring your faucets remain leak-free. Start by periodically inspecting your faucet for any signs of damage or wear, especially at the base where leaks often originate. Keep an eye out for loose parts, damaged O-rings, or any other components that might need replacing. Cleaning the faucet regularly, especially the aerator, can prevent buildup and ensure smooth water flow.
Additionally, consider using waterproof seals or adhesive to reinforce connections between the faucet handle, stem, and base. Regularly tightening loose faucets and replacing worn-out parts can also help prevent future leaks. Remember, addressing small issues early on can save you from dealing with a leaky faucet and the hassle of repairs down the line, making it easier to learn how to fix a leaky faucet efficiently.
A leaky faucet at the base can waste significant amounts of water and increase your water bills. However, with a bit of knowledge and a few simple tools, fixing this common issue is straightforward. By following the step-by-step guide provided and implementing preventive measures, you can not only save money but also contribute to water conservation. Remember, regular maintenance is key to avoiding future leaks.