To fix a leaky faucet, start by visually inspecting for damage or worn parts like loose connections or damaged O-rings. If the leak stops after turning off water valves, replace the O-rings or washer inside the faucet. Before reassembling, clean internal components with warm soapy water. Follow a step-by-step guide to replace the O-ring/washer, test functionality, and seek professional help if needed to ensure a drip-free sink using the How to Fix a Leaky Faucet method.
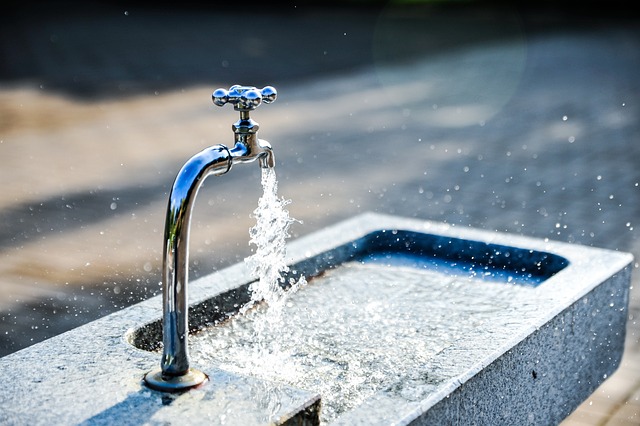
Are you tired of that persistent dripping under your sink? A leaky faucet can be more than just an annoyance—it wastes water and can even lead to damage. Fear not! This guide will walk you through the process of identifying and fixing a leaky faucet at its base.
First, pinpoint the source of the leak. Then, disassemble and clean the faucet. The solution often lies in replacing the O-ring or washer. With these simple steps, you’ll have your faucet dripping less—if not stop altogether—in no time.
- Identify the Source of the Leak
- Disassemble and Clean the Faucet
- Replace the O-Ring or Washer and Reassemble
Identify the Source of the Leak
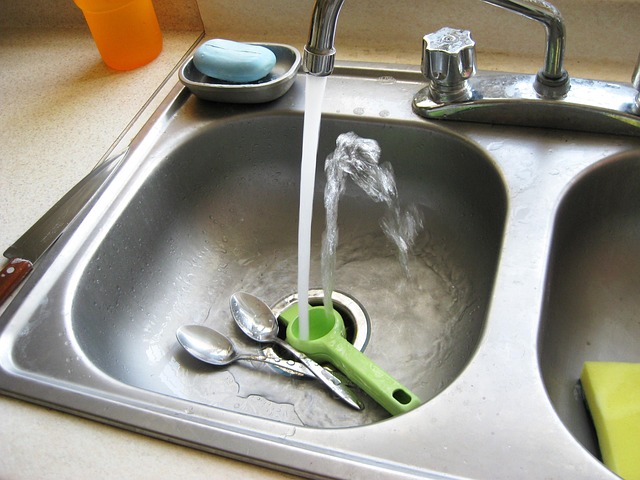
To begin troubleshooting your leaky faucet, start by observing the sink area carefully. The source of the leak could be easily identifiable if water is splashing or dripping from a specific part. Often, leaks originate from the base where the faucet connects to the sink or countertop. Check for any visible damage or worn-out parts, such as loose connections or damaged O-rings.
If you can’t spot the issue visually, turn off the water supply valves beneath the sink. After a few minutes, check if the leak has ceased. If it has, the problem is likely related to the O-rings or washer inside the faucet mechanism, which can be replaced relatively easily as part of How to Fix a Leaky Faucet process.
Disassemble and Clean the Faucet
A leaky faucet isn’t just an annoying disturbance; it can also lead to wasteful water usage and higher bills. Before replacing the entire faucet, try disassembling and cleaning it as a simple and cost-effective solution. Start by shutting off the water supply under the sink using the shutoff valves. Then, remove the faucet handle and any decorative covers to access the internal components. Disassemble all parts carefully, paying attention to where each piece belongs. Clean the parts with warm, soapy water and a soft brush, removing any mineral deposits or debris that may have accumulated over time. Rinse thoroughly and reassemble, ensuring every part is in its proper place before turning on the water supply again.
Replace the O-Ring or Washer and Reassemble
If your faucet is leaking at the base, one of the simplest and most effective solutions is to replace the O-ring or washer. These components are often the culprits behind leaky faucets. Start by turning off the water supply valves under the sink. Then, remove the faucet handle and any decorative caps or covers. Next, locate the O-ring or washer, which is usually situated between the faucet body and the spout or base. Inspect it for damage or wear and tear. If it’s worn out or damaged, simply replace it with a new one that matches your faucet’s size.
After inserting the new O-ring or washer, carefully reassemble the faucet. Ensure all parts are properly aligned and secured. Turn on the water supply valves again and test the faucet. If the leak has ceased, you’ve successfully fixed the issue. Otherwise, you may need to consult a professional plumber for further assistance. Remember, these steps are part of how to fix a leaky faucet, ensuring your sink remains drip-free and efficient.
A leaky faucet at the base can be easily fixed with some simple DIY skills. By first identifying the source of the leak, disassembling and cleaning the faucet, and then replacing the worn-out O-ring or washer, you can stop that persistent drip and save money on your water bills. Following these steps to fix a leaky faucet is straightforward and effective, ensuring your faucet functions smoothly for years to come.