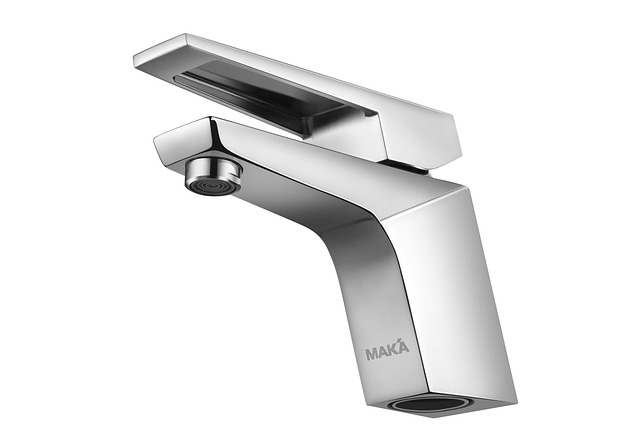
To fix a leaky faucet, observe water seepage points (base, handle, spout), inspect under the sink for moisture, and refer to your faucet's manual. First, shut off the water supply, remove handle and caps, disassemble, clean, and replace packing nut/O-ring (common leak sources). Inspect all parts for damage, reassemble securely, test the water supply again. Consult a pro if the leak continues. This guide provides step-by-step instructions to fix leaky faucets caused by worn O-rings or washers, emphasizing proper tools, model-specific replacement, disassembly, re-seating, and reassembly for a leak-free faucet.
“Struggling with a leaky faucet that drives you crazy with its constant drip-drip-drip? You’re not alone. Learn how to fix a leaky faucet at its base, one of the most common issues. This step-by-step guide covers everything from identifying the source of the leak to replacing worn O-rings or washers. By following these simple instructions, you can stop that annoying drip and save money on your water bills.”
- Identifying the Source of the Leak
- Disassembling and Cleaning the Faucet
- Replacing O-Rings or Washers to Stop the Leakage
Identifying the Source of the Leak

When dealing with a leaky faucet, the first step is pinpointing where exactly the water is seeping out. While it might seem like an obvious problem, faucets can leak from various parts—the base, the handle, or even the spout. Start by observing the faucet closely while it’s turned on. Look for any visible signs of moisture or dripping beneath the sink. Sometimes, the leak might be as simple as a loose washer or O-ring that requires tightening or replacement.
Under the sink, inspect the sections where different components connect. The base of the faucet often houses crucial parts like the cartridge or valve seats. If you notice water pooling around these areas, it’s likely the source of the leak. Refer to your faucet’s manual for a detailed understanding of its internal components and how they fit together. This knowledge will make the repair process much smoother when you’re ready to fix the leaky faucet.
Disassembling and Cleaning the Faucet

When addressing a leaky faucet, disassembling and cleaning the components is often the first step towards an effective fix. Start by shutting off the water supply to your sink to prevent any further wastage. Then, remove the faucet handle and any decorative caps or covers to access the main body. You’ll typically find a packing nut or O-ring that needs attention – these are common sources of leaks. Use a suitable tool to unscrew and take out these parts carefully.
Next, clean all disassembled components thoroughly with warm water and mild detergent. This removes any mineral buildup or dirt that may have contributed to the leak. Once cleaned, inspect each piece for damage or wear and replace them if necessary. Reassemble the faucet, ensuring a secure fit, and test the water supply again. If the leak persists, consider seeking professional assistance to ensure a proper repair.
Replacing O-Rings or Washers to Stop the Leakage

If your faucet is leaking at the base, one of the simplest and most common solutions is replacing the O-rings or washers. Over time, these components can wear out or become damaged, leading to water seepage. To fix this issue, gather the necessary tools—a wrench, pliers, and replacement parts (O-rings or washers specific to your faucet model). Turn off the water supply to your faucet using the shut-off valves beneath it; you’ll know the leak has been stopped when the water stops flowing. Then, disassemble the faucet by unscrewing the handle and removing any decorative caps or covers. Identify the O-ring or washer that needs replacing and carefully extract it from its groove. Install the new part, ensuring it’s properly seated in the groove, and reassemble the faucet. Once everything is back in place, turn on the water supply and test the fix by turning on the faucet to see if the leak has been effectively stopped.
A leaky faucet isn’t just an annoyance; it’s also a waste of water and money. By following these simple steps – identifying the source of the leak, disassembling and cleaning the faucet, and replacing O-rings or washers – you can quickly and effectively fix the problem. Say goodbye to dripping water and hello to a more efficient, cost-saving home!
