Leaky faucets waste water and money; address them promptly. Recognize signs like dripping water or increased water meter readings. Take action by fixing the leak yourself (if manageable) or with professional help. Common causes include worn washers, O-rings, or cartridges needing replacement. Regular maintenance prevents small leaks from becoming significant problems. Follow these DIY steps: shut off water supply, gather tools and parts, dismantle faucet, replace worn components, reassemble, test for leaks.
Don’t let a leaky faucet go unaddressed! That persistent drip isn’t just annoying; it can waste vast amounts of water and inflate your bills. Learn how to fix that leaky faucet the right way with our comprehensive guide. We’ll walk you through understanding the problem, gathering the necessary tools, and providing a step-by-step process to stop the leak for good. Say goodbye to unnecessary water wastage and hello to savings!
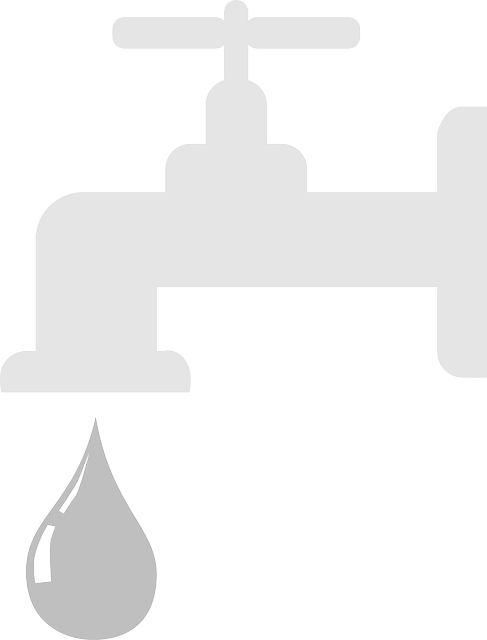
- Understanding the Problem: Identifying a Leaky Faucet
- Gathering Tools and Materials for the Fix
- Step-by-Step Guide to Repairing Your Leaky Faucet
Understanding the Problem: Identifying a Leaky Faucet

Leaky faucets aren’t just an inconvenience; they’re a waste of water and money. Understanding the problem starts with identifying the leak. Typically, a leaky faucet will show signs of dripping or continuous, slow-dripping water from the spout, handle, or both. The dripping may occur even when the faucet is turned off, indicating a seal or O-ring issue. Other symptoms include water stains on the faucet’s base and surrounding areas, which can point to a worn-out washer or cartridge. To confirm it’s a leaky faucet, observe the water meter during a period of low water usage; a persistent increase could indicate a leak. Once identified, taking proactive steps to fix the issue becomes crucial, not just for saving money but also for preserving our precious water resources.
When you notice a leaky faucet, it’s important to know how to fix a leaky faucet properly. DIY repairs are often possible and can be cost-effective, but understanding the specific cause is key. Common issues include worn-out parts like washers, O-rings, or cartridges that require replacement. The process involves shutting off the water supply under the sink, disassembling the faucet, identifying the faulty part, replacing it with a new one, and then reassembling the faucet while turning on the water to test for leaks. Regular maintenance and prompt attention to these issues can prevent minor leaks from becoming major problems.
Gathering Tools and Materials for the Fix

Before you begin the process of fixing a leaky faucet, it’s essential to gather the right tools and materials. This includes common household items like pliers, screwdrivers (both flathead and Phillips), a wrench, and some Teflon tape or pipe compound. You’ll also need replacement parts specific to your faucet, such as O-rings, washers, or cartridges, which can be found at most hardware stores. Having these in hand will ensure you’re prepared to tackle the job efficiently and effectively.
When it comes to How to Fix a Leaky Faucet, the right tools make all the difference. Using the wrong instruments can lead to damage or an incomplete repair. So, take some time to ensure you have everything needed before getting started. This preparation will not only streamline the process but also help you avoid unnecessary frustration down the line.
Step-by-Step Guide to Repairing Your Leaky Faucet

Fixing a leaky faucet might seem like a daunting task, but with a few simple steps, it can be an easy do-it-yourself project. Here’s a step-by-step guide to help you get started:
1. Turn off the water supply. Before you begin any repair work, locate and close the shut-off valves under the sink. This prevents water from flowing while you’re fixing the faucet, minimizing potential damage and waste.
2. Gather your tools and supplies. You’ll need a few basic tools like adjustable wrenches or pliers, replacement washers or O-rings (specific to your faucet model), and pipe compound or thread sealant. Have these ready before starting to ensure a smooth repair process.
3. Dismantle the faucet. Remove the handle and any decorative caps or covers. You’ll then need to unscrew the existing components, typically starting with the stem and disk assembly. Be sure to mark the direction of water flow for proper reassembly later.
4. Inspect and replace worn parts. Examine the inner workings, particularly the washers and O-rings. If they’re cracked, worn, or compressed, they’ll need replacing. Install new ones, ensuring they fit correctly.
5. Reassemble the faucet. Put the stem and disk back in place, securing them with screws. Make sure everything is aligned properly before tightening fully.
6. Test for leaks. Open the shut-off valves and turn on the water supply. Check if the leak has been fixed by observing the faucet for any dripping. If there are still leaks, double-check your connections and replacements.
Fixing a leaky faucet is an easy, cost-effective way to prevent wasted water and enhance your home’s value. By understanding the problem, gathering the right tools, and following a simple step-by-step guide, you can tackle this common issue head-on. Don’t ignore that drip – it’s time to take control and save both water and money with this straightforward DIY solution.