Learn to fix a leaky faucet effortlessly with our step-by-step guide using simple tools and easy instructions. Gather essentials like teflon tape, wrench, pliers, and replacement parts. Turn off water supply, remove decorative caps, replace washer or clean cartridge/stem assembly. Reopen valves, turn on faucet, and test the repair.
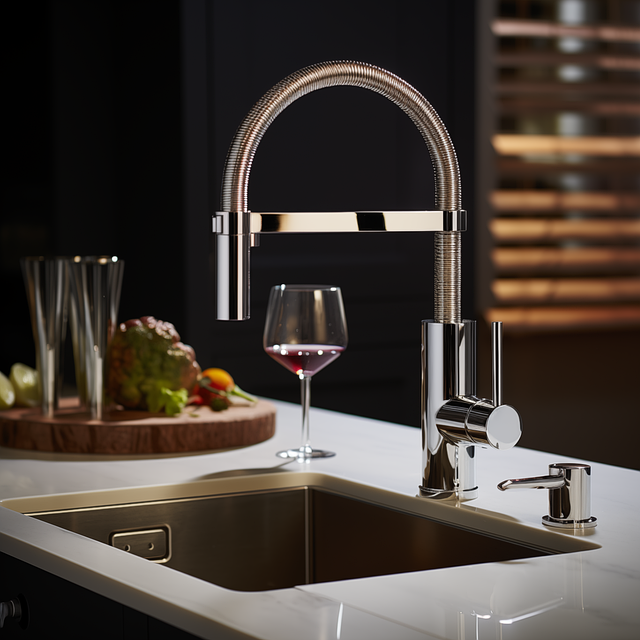
Tired of that annoying drip-drip-drip? Don’t call a plumber just yet! This ultimate guide teaches you how to fix a leaky faucet yourself, no professional needed. We break down understanding common causes, gathering the right tools and materials, and providing a detailed step-by-step process for successful repairs. Learn these simple techniques and stop that wasteful water loss today!
- Understanding the Problem: Identifying a Leaky Faucet and Its Causes
- Gathering the Right Tools and Materials for Repair
- Step-by-Step Guide: Fixing the Leaky Faucet Yourself
Understanding the Problem: Identifying a Leaky Faucet and Its Causes

Gathering the Right Tools and Materials for Repair
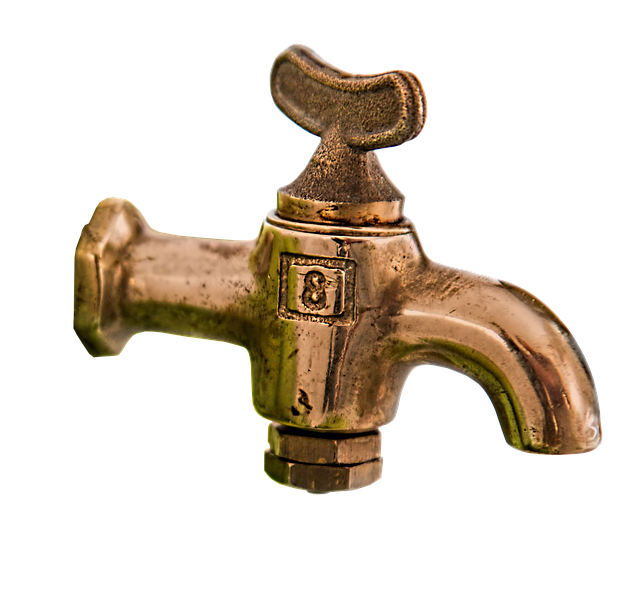
Before tackling any DIY repair, ensuring you have the right tools and materials is crucial for how to fix a leaky faucet. For this project, you’ll need some basic items from your toolbox or hardware store. Gather a wrench (either adjustable or pipe), pliers, teflon tape, replacement faucet parts (if necessary), and a bucket to catch any water that might spill.
The right tools make the task easier, and having the proper materials on hand will prevent any delays in fixing the leak. Teflon tape is a game-changer; it creates a tight seal around the connections, stopping leaks at their source. Remember, having these essentials ready can save you time, money (avoiding a plumber’s fee), and ensure your faucet functions like new again.
Step-by-Step Guide: Fixing the Leaky Faucet Yourself

Fixing a leaky faucet yourself is an achievable task, and with the right tools and a few simple steps, you can save money and avoid calling a plumber. Start by gathering your supplies: a new washer, a set of pliers, and possibly some pipe tape or plumber’s putty (especially if you’re replacing the seal). Turn off the water supply to your faucet; locate the shut-off valves under the sink and twist them clockwise until they’re tightly closed. Then, remove the handle and any decorative caps from the faucet. Underneath, you’ll find the components that cause leaks: the washer and the cartridge or stem assembly. The process varies slightly depending on your faucet’s design, but generally, you’ll need to remove the old washer and replace it with a new one. For cartridges or stem assemblies, disassemble and clean all parts before reassembling them. Once everything is secure, open the shut-off valves again, turn on the water, and test the fix by turning on the faucet.
Fixing a leaky faucet is an easy DIY project that can save you money and reduce water waste. By understanding the problem, gathering the right tools, and following a simple step-by-step guide, you can confidently tackle this common plumbing issue yourself, without the need for a plumber. With these tips in hand, you’re well-equipped to stop those annoying drips and keep your faucets functioning properly.