
To fix a leaky faucet, first assess the issue by turning off water valves and observing the leak's source and pattern. Gather essential supplies like washers, O-rings, thread seal tape, pipe compound, adjustable pliers, and a wrench. Identify the type of leak (cartridge, compact, centerset, touchless) to choose the right fixing method. For stubborn leaks, consult hardware store recommendations for model-specific parts.
Tired of that persistent drip-drip-drip? Don’t call a plumber just yet! This ultimate guide walks you through fixing that leaky faucet, no professional needed. Learn how to assess the leak, gather essential tools and supplies, disassemble the faucet step-by-step, replace worn parts, and perform final touches for a watertight seal. Discover tips to prevent future leaks and save money on your next repair.
- Assessing the Leak and Gathering Supplies
- – Identifying the source of the leak
- – Common types of leaky faucets and their characteristics
Assessing the Leak and Gathering Supplies
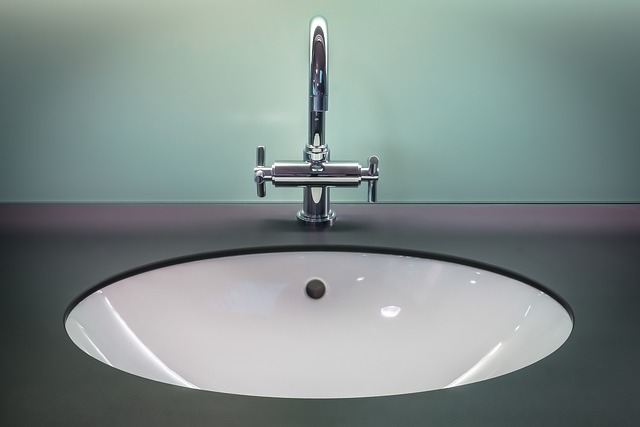
When faced with a leaky faucet, the first step is to assess the issue. Turn off the water supply valves located under the sink to prevent further waste. Observe the leak’s source and pattern—is it from the handle, spout, or base? This knowledge will guide your repair process. Gather essential supplies like a new washer, O-ring, or cartridge (depending on your faucet type), adjustable pliers, a wrench, and a bucket to catch any drips. For stubborn leaks, consider getting thread seal tape and pipe compound. Always check your local hardware store for specific recommendations based on your faucet model.
– Identifying the source of the leak
Leaking faucets can be frustrating, but identifying the source of the problem is half the battle won in the process of learning how to fix a leaky faucet yourself. Start by observing where the water is escaping from. Is it at the base of the faucet handle, where the spout meets the counter, or near the valves under the sink? Leaks often occur due to worn-out washer or O-ring seals, so checking these components is your first step. These parts are usually easy to replace and can be found at any hardware store.
If the leak is coming from the handle, it may mean that the inner mechanism has worn out, requiring a more detailed examination. However, if the leak is minimal and occurs only when the faucet is turned on fully, it could simply be air bubbles in the pipes, easily fixed by running hot water for a few minutes to dislodge them.
– Common types of leaky faucets and their characteristics
Leaky faucets are a common household issue, but understanding the type of leak can help in efficiently fixing them. The most typical categories include:
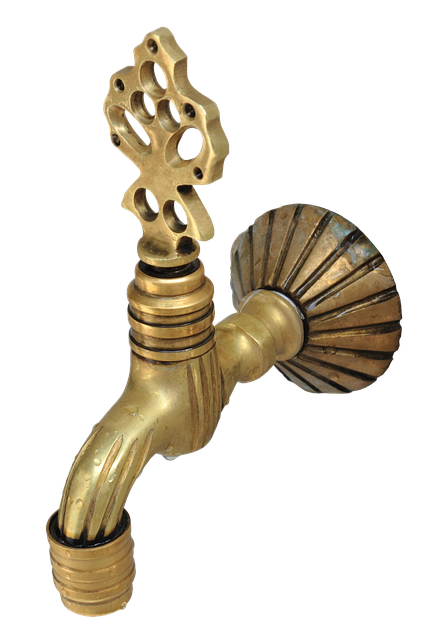
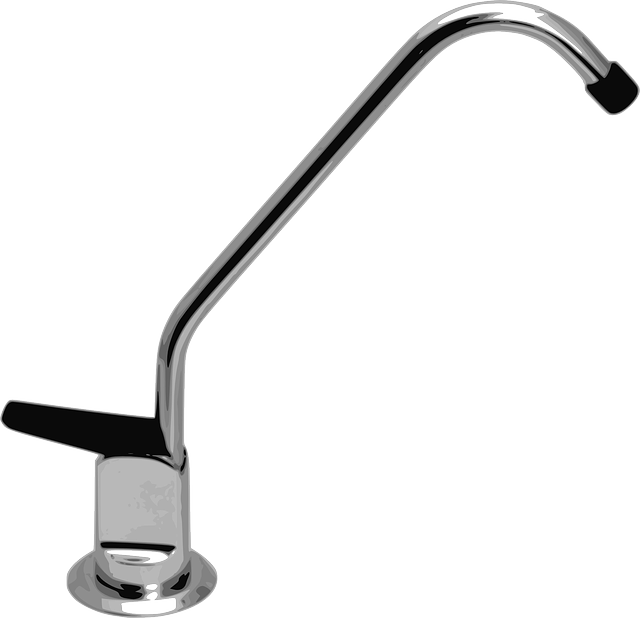
1. Cartridge Faucets: These have a single handle and a removable cartridge that controls water flow and temperature. Leaks often occur due to worn-out or corrupted cartridges. 2. Compact Faucets: Often found in smaller spaces, these faucets have a single piece structure with a built-in cartridge or valve. Leaks can result from manufacturing defects or damage to the internal parts. 3. Centerset Faucets: With two separate handles for hot and cold water, centerset faucets offer precise temperature control. Leaks usually stem from worn-out O-rings or seals within the valves. 4. Touchless Faucets: These innovative fixtures use sensors to activate water flow. Leaks may be caused by malfunctioning sensors, damaged pipes, or issues with the electronic components.
Whether you’re dealing with a dripping kitchen faucet or a bathroom sink that won’t stop leaking, this guide has equipped you with the knowledge to fix the problem yourself. By understanding the source of the leak and selecting the right supplies, you can effectively address most leaky faucet issues without calling a plumber. Remember, fixing a leaky faucet is not only an easy DIY project but also a great way to save money and reduce water waste. With these simple steps, you’re now well-prepared to tackle any minor plumbing mishap head-on.