Faucet leaks waste water and signal underlying problems, requiring proper identification as dripping, spraying, or running. Common causes include worn O-rings, aerator issues, or faulty shut-off valves. Correct repairs vary based on leak type, with solutions readily available at hardware stores. Regular maintenance, including checks and tightening parts, coupled with sealing techniques, prevents future leaks. Learning DIY plumbing fixes ensures optimal faucet condition while saving time and costs. "How to Fix a Leaky Faucet" underscores the value of routine inspections for early issue detection.
Faucet leaks are not only annoying but can also lead to significant water waste and increased bills. In this comprehensive guide, we’ll walk you through the most common faucet leak types and provide step-by-step repair guides for each. From O-ring replacements to cartridge adjustments, learning how to fix a leaky faucet is an invaluable skill that could save you money and help the environment. We’ll also share preventive measures to ensure your faucets stay in top condition.
- Identifying Common Faucet Leak Types
- Step-by-Step Repair Guides for Each Leak
- Preventive Measures to Stop Future Leaks
Identifying Common Faucet Leak Types
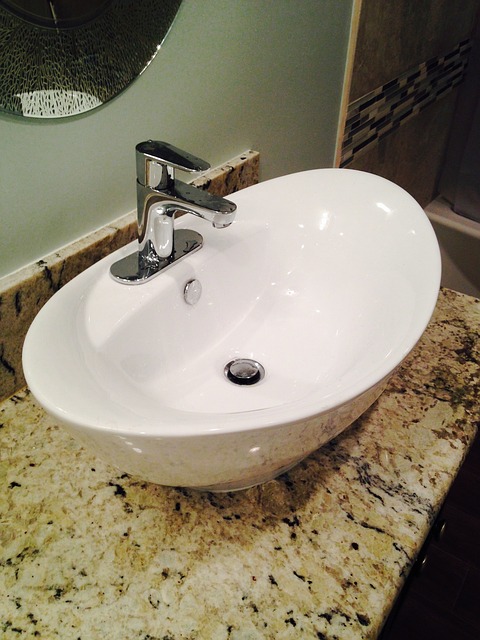
Faucet leaks can be frustrating and waste a significant amount of water. Identifying the type of leak is the first step in knowing how to fix a leaky faucet. Common types include:
1. Dripping Faucet: This is often the most noticeable type of leak, where water drips continuously from the spout or handle. It can be caused by worn-out O-rings or cartridges within the faucet.
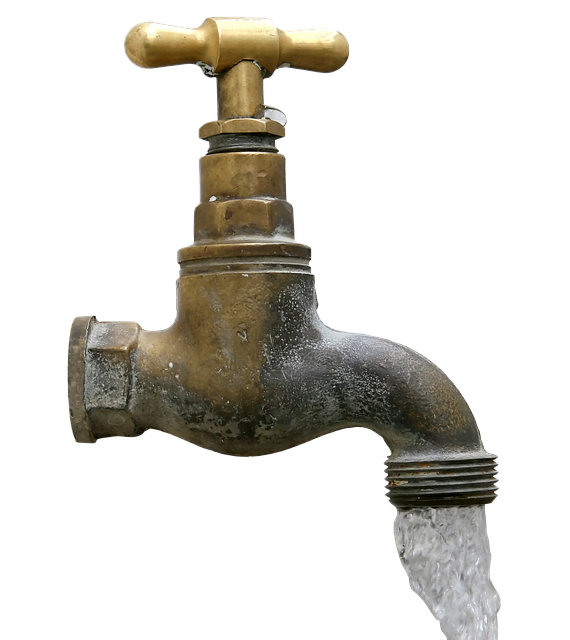
2. Spraying or Squirtings Faucet: Instead of a steady drip, this type leaks in bursts or sprays unevenly. This usually indicates an issue with the aerator or the internal valve components.
3. Running Faucet: Even when not in use, water continuously flows from the faucet. This could be due to a faulty shut-off valve under the sink or problems with the supply lines.
Step-by-Step Repair Guides for Each Leak

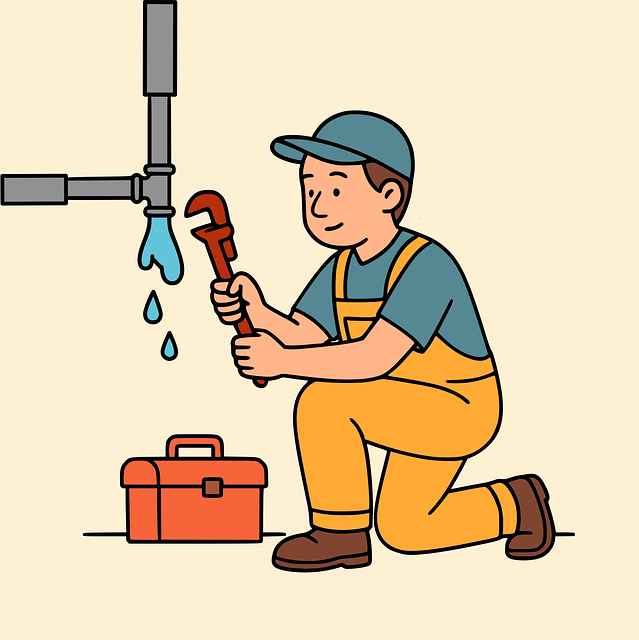
Fixing a leaky faucet is often a straightforward DIY project, but the type of leak determines the best course of action. Here’s a breakdown of common issues and step-by-step repair guides for each:
1. Leaking at the Base (Cartridge or Washer Issue): This is the most frequent type of leak. It usually involves replacing the cartridge or washer. Turn off the water supply under the sink, disassemble the faucet, identify the culprit (cartridge or washer), and replace it with a new one from your local hardware store.
2. Leaking at the Neck (O-ring or Gasket Problem): If the leak originates from the neck of the faucet, it’s likely due to a worn-out O-ring or gasket. Access these components by unscrewing the faucet handle and removing the aerator. Replace the O-ring or gasket with new ones, ensuring proper sealing for a leak-free fix.
3. Spraying Water (Aerator Clogged or Damaged): If your faucet is spraying water instead of releasing it in a steady stream, the aerator might be clogged or damaged. Remove the aerator, clean it thoroughly, and replace it if necessary. This simple step often stops spraying issues without needing further repairs.
Preventive Measures to Stop Future Leaks
Regular maintenance and simple precautions can significantly reduce the likelihood of future faucet leaks. One effective measure is checking your faucets periodically for any signs of damage or wear, especially around the handle and spout areas. Over time, these parts can become loose or develop cracks, leading to leaks. Tightening any loose components or replacing damaged parts can prevent water wastage and the inconvenience of a leaky faucet.
Additionally, using waterproof sealants or thread tape during installation or repair can create a robust barrier against moisture intrusion. These preventive measures, combined with routine inspections, will help you catch potential issues early on. If you’re familiar with basic plumbing tools and techniques, learning how to fix a leaky faucet yourself can save time and costs, ensuring your faucets remain in top condition for years to come.
Fixing a leaky faucet is easier than you think. By identifying common leak types and following simple, step-by-step repair guides, you can tackle the problem head-on. Whether it’s an aerator issue, a damaged washer, or a worn-out O-ring, these solutions will help you stop water waste and save money on your utility bills. Implement preventive measures like regular maintenance checks and quality parts to ensure future leaks are avoided. With a little know-how, you can transform from a worried homeowner to a plumbing problem solver.