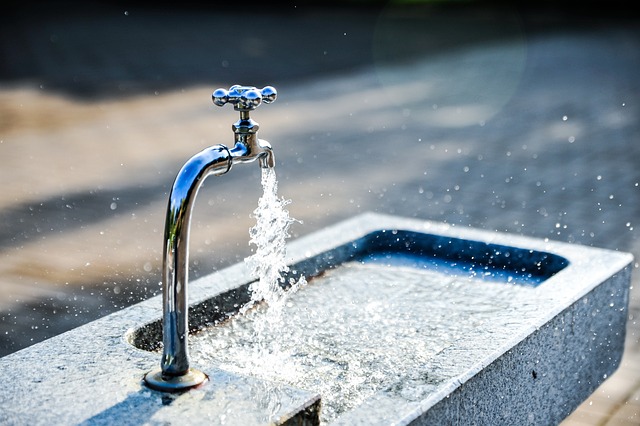
A leaky faucet wastes water and increases utility bills; quick action and DIY repair using simple tools and parts (new O-ring, washer, thread seal tape) can save money and prevent damage. Gather essentials, shut off water supply under the sink, disassemble the faucet, replace worn parts, reassemble securely, then test by turning on the water to ensure the leak is fixed. Learn how to fix a leaky faucet with our comprehensive step-by-step guide for a successful DIY repair experience.
Tired of that persistent dripping? Learn how to fix a leaky faucet with our comprehensive guide. Understanding the problem starts with identifying its source – is it the handle, valve, or cartridge? Once you know where the leak originates, gathering the right tools and materials becomes straightforward. Then, follow our step-by-step instructions for a successful DIY repair, saving you time and money in no time.
- Understanding the Problem: Identifying a Leaky Faucet
- Gathering Tools and Materials for Repair
- Step-by-Step Guide to Fixing a Leaky Faucet
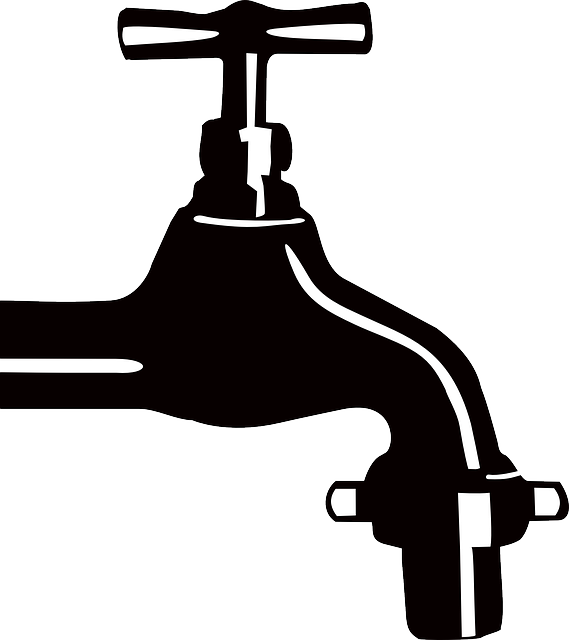
Understanding the Problem: Identifying a Leaky Faucet
A leaky faucet can be an annoying and costly problem, but understanding how to identify and address it is the first step toward fixing it. The most common sign of a leaky faucet is, of course, water dripping from the spout. This may seem like a small issue, but over time, even a slow drip can waste significant amounts of water and raise your water bills.
When you notice water accumulating under or around your sink, or hear constant dripping sounds, it’s time to investigate. The good news is that many leaky faucets can be easily repaired with some basic tools and a bit of know-how. By learning “how to fix a leaky faucet,” you can save money on your utility bills and potentially prevent further damage caused by excess water.
Gathering Tools and Materials for Repair
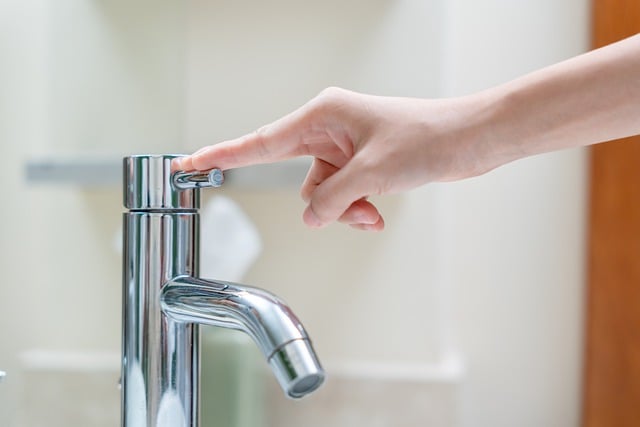
Before starting any DIY repair, it’s crucial to gather the right tools and materials. For fixing a leaky faucet, you’ll need basic plumbing supplies such as a wrench or pliers for loosening connections, new O-rings or washer packets specific to your faucet model, and pipe tape (or teflon tape) to ensure a secure seal. You might also require a bucket to catch any excess water, rags to absorb leaks, and possibly a replacement cartridge if the problem is due to a faulty internal mechanism. Once you have these, follow our step-by-step guide on how to fix a leaky faucet for a successful do-it-yourself repair.
Step-by-Step Guide to Fixing a Leaky Faucet
Fixing a leaky faucet is an easy DIY project that can save you money and reduce water waste. Here’s a step-by-step guide to help you get started. First, turn off the water supply to your faucet by locating and closing the shutoff valves under the sink. This prevents any additional water from flowing while you work. Next, gather the necessary tools: a new O-ring or washer (the most common culprit for leaks), a screwdriver, pliers, and maybe some thread seal tape.
Disassemble the faucet by unscrewing the handle and removing the ornamental cap. Behind these pieces lies the cartridge or valve assembly—the heart of your faucet. With care, extract this component and inspect it for worn-out parts, especially the O-ring or washer. Replace these parts if needed, ensuring proper alignment. Reassemble the faucet, tightening all components securely with your screwdriver or pliers. Finally, turn on the water supply and test the fixture to confirm that the leak has been successfully fixed.
Repairing a leaky faucet is an easy DIY project that can save you money and reduce water waste. By understanding the problem, gathering the right tools, and following a simple step-by-step guide, you can effectively fix a leaky faucet at home. Remember, timely action on minor issues like leaks can prevent bigger problems down the line. So, roll up your sleeves, grab your tools, and get ready to transform that drip into a steady stream – literally!