
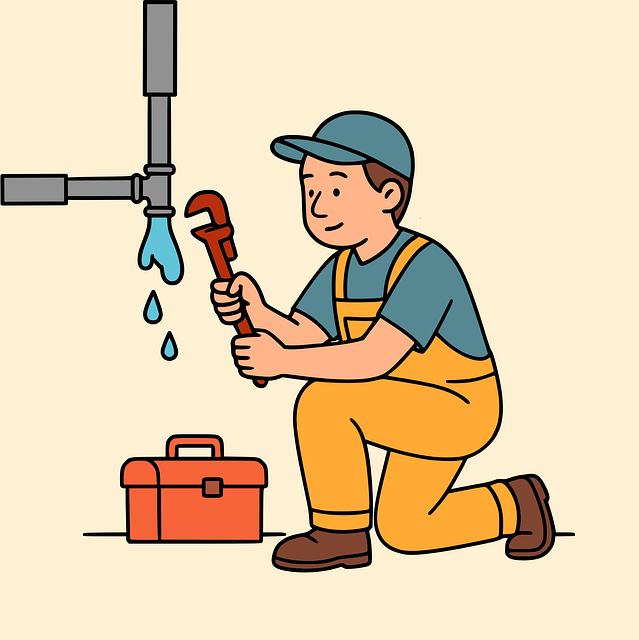
A leaky faucet, caused typically by a worn-out washer, is a common plumbing issue that can be easily fixed with the right tools and DIY know-how. Before starting, shut off the water supply, gather parts like a new washer, pliers, screwdriver, Teflon tape or pipe compound, and test for leaks after reassembling. Persistent leaks require professional help from a plumber. Learn this simple process to tackle a leaky faucet efficiently using "How to Fix a Leaky Faucet" as your guide.
Tired of that persistent drip, drip, drip? You’re not alone. Leaky faucets can drive anyone crazy! But fear not, fixing a leaky faucet is easier than you think. In this article, we’ll guide you through the process step-by-step, from understanding the problem to gathering the right tools and parts. Learn how to identify the leak, prepare for the repair, and ultimately, silence that pesky drip with our comprehensive How to Fix a Leaky Faucet tutorial.
- Understanding the Problem: Identifying a Leaky Faucet
- Gathering the Right Tools and Parts for Repair
- Step-by-Step Guide to Fixing the Leaky Faucet
Understanding the Problem: Identifying a Leaky Faucet
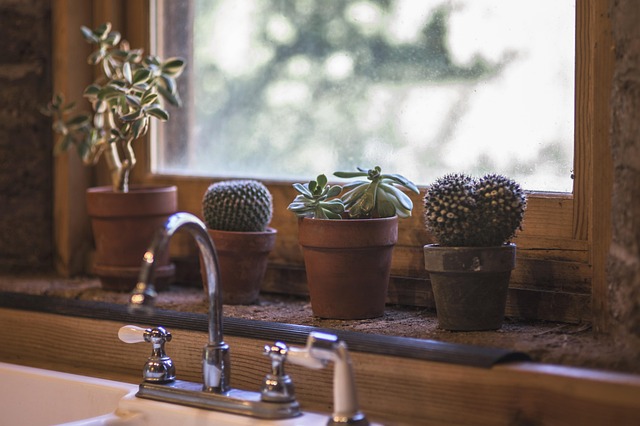
A leaky faucet is often an early sign of wear and tear, but it’s also a common plumbing issue that many homeowners face. Understanding the problem is the first step in learning how to fix a leaky faucet. The most typical culprit is a worn-out washer, which sits behind the faucet handle and controls the flow of water. Over time, this simple component can degrade, allowing water to leak continuously.
Identifying the source of the leak is crucial. You might notice water dripping from under the faucet handle or a constant, slow trickle even when the tap is closed tightly. Visual inspection can help; look for any visible damage, corrosion, or loose parts around the base of the faucet. Identifying these issues early on makes the how to fix a leaky faucet process much smoother and more manageable.
Gathering the Right Tools and Parts for Repair

Before you begin fixing that leaky faucet, make sure you have all the necessary tools and parts. The specific items will vary depending on your faucet’s design, but generally, you’ll need a new washer (the most common culprit for leaks), a wrench or pliers for removing old parts, and possibly some Teflon tape or pipe compound to seal connections. For more complex faucets, you might also require an adjustable wrench, a screwdriver, or even a new cartridge if the issue is internal. Gathering these tools ahead of time ensures a smoother repair process and helps prevent delays when you’re ready to tackle the leaky faucet.
Step-by-Step Guide to Fixing the Leaky Faucet
Fixing a leaky faucet is an easy DIY project that can save you money and water. Here’s a step-by-step guide to tackling this common household issue. Start by turning off the water supply under the sink using the shutoff valves located behind or beneath the faucet. This crucial step prevents any flooding while you work. Next, gather your tools: a new washer, pliers, and a screwdriver. Remove the faucet handle to expose the inner components, being careful not to lose any small parts. Locate the washer, a thin circular piece that sits between the faucet’s base and the spout. It’s often made of rubber or plastic. Using pliers, carefully extract the old, worn-out washer and replace it with a new one. Ensure the new washer is securely in place before reassembling the faucet handle. Turn on the water supply and test the repair by turning on the faucet to check for any leaks. If the leak persists, consult a professional plumber for further assistance.
Replacing a worn-out washer is an effective and straightforward way to fix a leaky faucet, saving you time and money. By understanding the problem, gathering the right tools and parts, and following a simple step-by-step guide, you can confidently tackle this DIY repair. Now that you know how to fix a leaky faucet, you’ll not only reduce water waste but also contribute to a more sustainable home.