
Homeowners often underestimate leaky faucets as minor inconveniences, but they can lead to significant water waste and higher utility bills. This guide explains how to fix a leaky faucet by identifying common leak sources (aerator, washer, O-ring) and performing regular maintenance. Gather essential tools like pliers, wrenches, thread seal tape, and screwdrivers. Turn off the water supply, remove the old washer, inspect for debris, install new components, and test the faucet. Following these steps can save costs, extend faucet lifespan, and promote water conservation.
Tired of that persistent drip, drip, drip? You’re not alone. Leaky faucets can be a common household frustration. But fixing them doesn’t have to be! This guide breaks down the process of replacing a worn-out washer – the key to stopping those irritating leaks. From identifying the problem to gathering the right tools, we’ll walk you through each step, empowering you to tackle this simple repair and say goodbye to the constant sound of dripping water. Learn how to fix that leaky faucet once and for all.
- Identifying and Understanding a Leaky Faucet
- Gathering the Necessary Tools and Materials
- Step-by-Step Guide to Replacing a Worn-Out Washer
Identifying and Understanding a Leaky Faucet
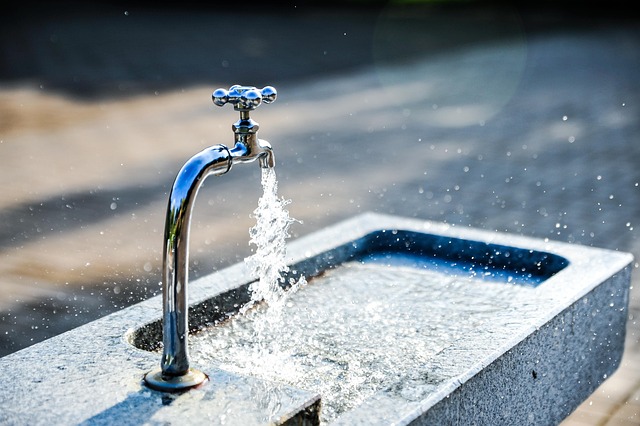
Many homeowners often overlook a leaky faucet as a minor inconvenience, but it can waste a significant amount of water over time, leading to higher utility bills. Identifying a leak early on is crucial for minimizing damage and preserving our precious resources. A leaky faucet typically displays itself through constant dripping or splashing water, even when the faucet is turned off. This persistent moisture can eventually weaken the faucet’s internal parts, causing it to drip more frequently and potentially resulting in a complete breakdown.
To effectively fix a leaky faucet, understanding its source is key. Leaks commonly originate from the faucet’s aerator, washer, or O-ring. The aerator, located at the tip of the faucet, mixes air with water, while the washer and O-ring seal the water flow. Over time, these components may wear out, allowing water to leak uncontrollably. Regular maintenance, such as tightening loose parts and replacing worn-out washers or aerators, can prevent leaks and save you from costly repairs.
Gathering the Necessary Tools and Materials
Before you begin fixing your leaky faucet, it’s essential to gather the right tools and materials. You’ll need a few basic items like a new washer (make sure it’s compatible with your faucet), pliers or a wrench, and possibly some thread seal tape or pipe compound. If your old washer is attached with a screw, you might also require a screwdriver. For more complex faucets, you may need additional tools like an adjustable wrench, a deep well socket, or even a new O-ring.
Having the right tools ensures that your repair process is smooth and efficient. With these in hand, you can confidently take on the task of fixing a leaky faucet, ultimately saving money and prolonging the life of your fixture.
Step-by-Step Guide to Replacing a Worn-Out Washer
Replacing a worn-out washer is an easy DIY task that can save you time and money, preventing further water waste from a leaky faucet. Here’s a step-by-step guide to help you fix this common household issue. First, gather your tools: adjustable wrench or pliers, new washers (ensure they fit your faucet size), and replacement O-rings if needed. Turn off the water supply under the sink using the shut-off valves located behind the faucet. If you don’t know how to do this, consult a professional for guidance. Next, remove the old washer by unscrewing any retaining nuts or clips securing it in place. Be cautious not to damage the threads or surrounding components during removal. Once removed, inspect the faucet stem and ensure no debris is blocking the water flow path. If everything appears clear, install the new washer, tightening it securely but not excessively. Reattach any removed components, making sure all parts fit snugly. Finally, turn on the water supply and test the faucet to confirm the leak has stopped.
Replacing a worn-out washer is an effective and straightforward way to fix a leaky faucet. By understanding the issue, gathering the right tools, and following a simple step-by-step guide, you can easily tackle this common household repair. With these tips in hand, you’ll be well-equipped to stop that annoying drip and save money on potential water damage. Remember, knowing how to fix a leaky faucet is a valuable skill every homeowner should possess!