To fix a leaky faucet, start by visually inspecting common problem areas like the handle, base, and supply lines under the sink for damage such as corroded parts or worn-out gaskets. Understanding the specific source of the leak—whether from the cartridge, O-rings, seals, or aerator—is crucial for selecting the right replacement parts and effectively resolving the issue.
Struggling with a leaky faucet? You’re not alone. It’s a common issue that can waste water and raise your bills. This guide provides a comprehensive solution for fixing a leaky faucet fast, covering everything from identifying the source of the leak through visual inspection techniques and understanding common leak types to a step-by-step repair process. We’ll also share essential prevention tips to avoid future leaks, ensuring you have a durable and water-efficient fixture. Learn how to tackle this problem head-on with our simple, effective strategies.
- Identifying the Source of the Leak
- – Visual inspection techniques
- – Common leak types and their characteristics
Identifying the Source of the Leak

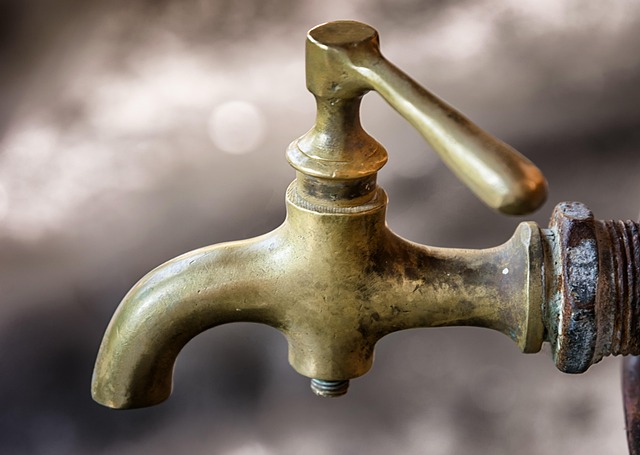
To fix a leaky faucet, the first step is identifying its source. Start by observing where the water is dripping or pooling around your sink. Leaks often originate from one of three primary areas: the handle, the base of the faucet, or the supply lines under the sink. Inspect each component for any visible signs of damage, such as corroded parts or worn-out gaskets. The handle may be loose or have a damaged washer, while the faucet base could harbor leaky O-rings or cartridges. Once you pinpoint the source, you’re one step closer to efficiently fixing the problem.
– Visual inspection techniques
When it comes to fixing a leaky faucet, the first step is often the simplest yet most effective—a visual inspection. Look closely at the faucet, focusing on the areas where water escapes or drips. This could be around the base of the handle, the neck connecting the spout and handle, or even the cartridge or washer inside the faucet. By identifying the source of the leak, you can better determine the necessary parts to replace.
For example, if water is dripping from the cartridge or washer, these are common culprits in many leaky faucets. Other visual cues might include worn-out O-rings or damaged seals. With a quick scan and some basic knowledge about your faucet’s mechanics, you can often pinpoint the problem, making it easier to efficiently fix the leak without unnecessary delays.
– Common leak types and their characteristics

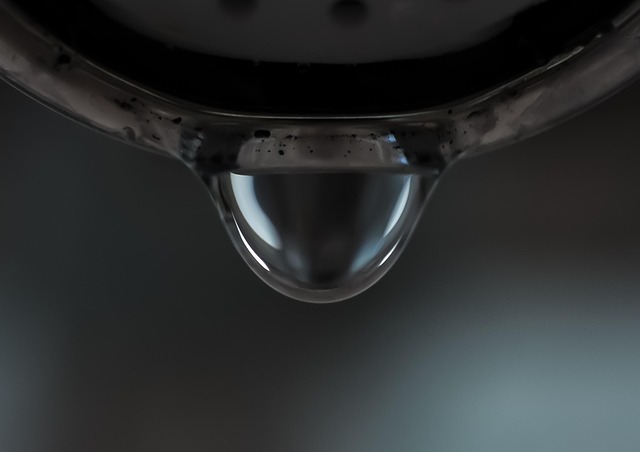
Leaky faucets can manifest in various ways, each with its own distinct characteristics. One common type is the dribbling leak, where water continuously runs from the faucet, often in slow, steady droplets. This usually indicates a problem with the washer or O-ring inside the faucet’s valve. Another type is the burst of water that suddenly shoots out when you turn on the tap, known as a high-pressure leak. This could be due to mineral buildup or damage to the aerator. Over time, faucets can also develop a steady, persistent leak from the base, indicating worn-out seals or cartridge issues. Identifying the specific type of leak is crucial in choosing the right fix, so understanding these characteristics will help you navigate how to fix a leaky faucet effectively.
Fixing a leaky faucet is simpler than you think. By identifying the source of the leak using visual inspection techniques, you can quickly determine the type of repair needed. Whether it’s a loose washer, faulty O-ring, or corroded parts, understanding common leak types will guide you in tackling this DIY project head-on. With a few easy steps, you can stop the drip, save water, and avoid unnecessary costs. So, don’t let a leaky faucet trouble you—take control and fix it fast!