To fix a leaky faucet (How to Fix a Leaky Faucet), start with a visual inspection to identify worn O-rings, washers, or handle assembly damage. Gather necessary tools and parts based on findings. Regular cartridge replacements and maintenance prevent future leaks, ensuring smooth faucet operation. Consult online guides or a plumber for DIY success.
Are you tired of that relentless dripping? A leaky faucet isn’t just annoying; it can waste precious water and hike your bills. Don’t fret! This guide will walk you through identifying the source of the leak, gathering the right tools and materials, and performing a step-by-step repair to get that faucet fixed fast. Say goodbye to the drip-drip-drip and hello to savings!
Identify the Source of the Leak

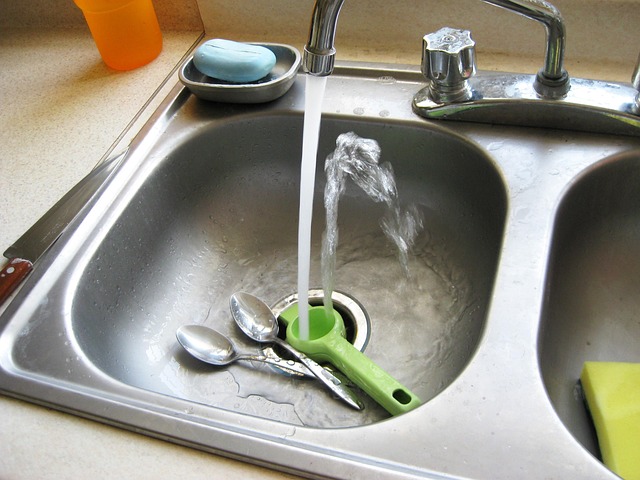
To begin your journey towards fixing that pesky leaky faucet, the first step is to identify its source. Start by observing where the water is leaking from—is it at the base of the faucet handle, the neck, or the spout? Leaks often occur due to worn-out O-rings or washers inside the faucet mechanism. These parts can degrade over time, allowing water to escape through tiny gaps. Inspecting these components is a crucial first step in understanding how to fix a leaky faucet effectively.
Once you’ve located the primary source, you’ll have a clearer idea of the repair process ahead. This knowledge will empower you to gather the necessary tools and parts, ensuring a swift and efficient solution to your leaky faucet trouble.
– Visual inspection techniques

When it comes to fixing a leaky faucet, the first step is often the simplest yet most effective: conduct a thorough visual inspection. Look for any visible signs of damage or wear on the faucet’s components, such as the handles, valves, and aerator. Check for loose connections, corroded parts, or any unusual debris that might be blocking the water flow. This initial assessment can often point you in the right direction when it comes to troubleshooting and repairing the leak.
With a basic understanding of what’s causing the leak, you can then gather the necessary tools and supplies. Common solutions involve replacing worn-out O-rings or washer cartridges, tightening loose connections, or even swapping out the entire faucet if damage is severe. Following step-by-step guides available online or consulting a plumber can help ensure that your DIY efforts are successful, saving you time and money in the process of learning how to fix a leaky faucet.
– Common areas for leaks in faucets

Leaky faucets are a common household issue, often caused by worn-out or damaged parts. The most frequent areas for leaks in faucets include the handle assembly and the cartridge or valve seat. Over time, the seals and gaskets can become worn out, allowing water to leak between the different components. This typically results in drips or continuous flows from the faucet spout.
When addressing how to fix a leaky faucet, these areas are often the primary focus due to their susceptibility to damage. The handle mechanism, which controls the water flow, might be the culprit if leaks occur when turning the handle. Cartridge replacement is another common solution, as this part regulates water pressure and flow. Regular maintenance and timely repairs can prevent such leaks, ensuring your faucets operate smoothly and efficiently.
Fixing a leaky faucet is easier than you think. By first identifying the source of the leak through visual inspection, you can quickly pinpoint the issue whether it’s a loose washer, damaged O-ring, or corroded parts. With just a few simple tools and some basic knowledge, you can efficiently address common areas for leaks like the base, handle, or spout, saving you time and money on potential repairs.