Leaky faucets are common but require understanding their root causes (worn O-rings, damaged valve seats, loose parts) for effective DIY repairs. Gather essential tools and materials including adjustable wrenches, pliers, screwdrivers, thread tape, and replacements for damaged parts. Follow a straightforward guide: turn off water supply, disassemble the faucet, inspect and replace inner components, reassemble, test the repair. Learn how to fix a leaky faucet with this DIY method.
Tired of that annoying drip, drip, drip? Learn how to fix a leaky faucet in minutes with this easy DIY guide. Understanding common causes like worn out washer or damaged O-ring is key. Gather just a few simple tools and materials for your repair. Follow our step-by-step instructions for a successful fix, saving time and money on what could be the easiest home repair you’ve ever done.
- Understanding the Common Causes of Leaky Faucets
- Gathering the Necessary Tools and Materials
- Step-by-Step Guide to Fixing a Dripping Tap
Understanding the Common Causes of Leaky Faucets
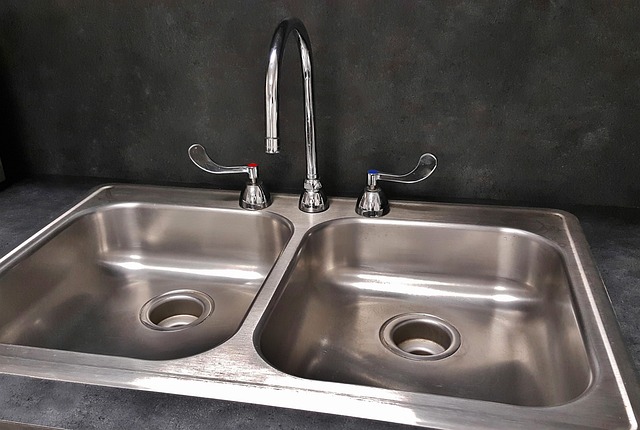
Leaky faucets are a common household issue that many people face at some point. Understanding the root cause is half the battle won when it comes to DIY faucet repair. The most typical culprits behind a dripping tap include worn-out or damaged O-rings, worn valve seats, or loose parts within the faucet’s internal mechanism. These components are responsible for sealing and controlling water flow, so any deterioration can lead to leaks.
Regular use over time, mineral buildup, and even minor vibrations from activities like dishwashing or hand washing can contribute to their damage. It’s important to note that different types of faucets may have unique issues, so identifying the specific problem is key before attempting a fix. Knowing how to address these common causes will empower you to efficiently tackle a leaky faucet and save money on potential repairs or replacements.
Gathering the Necessary Tools and Materials

Before starting your DIY faucet repair, ensure you have all the necessary tools and materials on hand. This typically includes an adjustable wrench, pliers, a screwdriver (both flathead and Phillips), a new O-ring or washer, and pipe thread tape. The specific items may vary depending on the type of faucet you’re dealing with, so do some research if needed. Gather these essentials to make your repair process efficient and effective, allowing you to stop that annoying drip in no time.
The right tools and materials are crucial when it comes to fixing a leaky faucet. With the right supplies, you’ll be able to quickly identify and replace any damaged parts, such as worn-out O-rings or washers, which are common causes of leaks. Properly applying pipe thread tape around the connections ensures a secure seal, preventing future leaks. Having these essentials readily available will enable you to tackle the issue head-on and save money on potential professional repairs.
Step-by-Step Guide to Fixing a Dripping Tap
Fixing a dripping tap is an easy DIY task that can save you money and reduce water wastage. Here’s a step-by-step guide to help you tackle this common household problem in just minutes. Start by turning off the water supply to your faucet. This is usually done by closing the shut-off valves located under the sink or at the base of the faucet. Next, gather the necessary tools: adjustable wrench, pliers, and a new washer or O-ring (check the specifications based on your faucet type). Disassemble the faucet by removing the handle and any decorative caps. You’ll then access the inner components, including the stem and washer/O-ring. Inspect these parts for damage or wear and replace as needed using your tools. Reassemble the faucet, ensuring all parts are properly aligned and secured. Finally, turn on the water supply and test the repair by checking if the leak has ceased.
Fixing a dripping tap is an easy, cost-effective way to prevent wasted water and enhance your home’s value. By understanding the common causes of leaky faucets and gathering just a few simple tools, you can confidently tackle this DIY project in just minutes. Following our step-by-step guide, you’ll be well on your way to becoming your own plumber and enjoying a leak-free faucet in no time.